
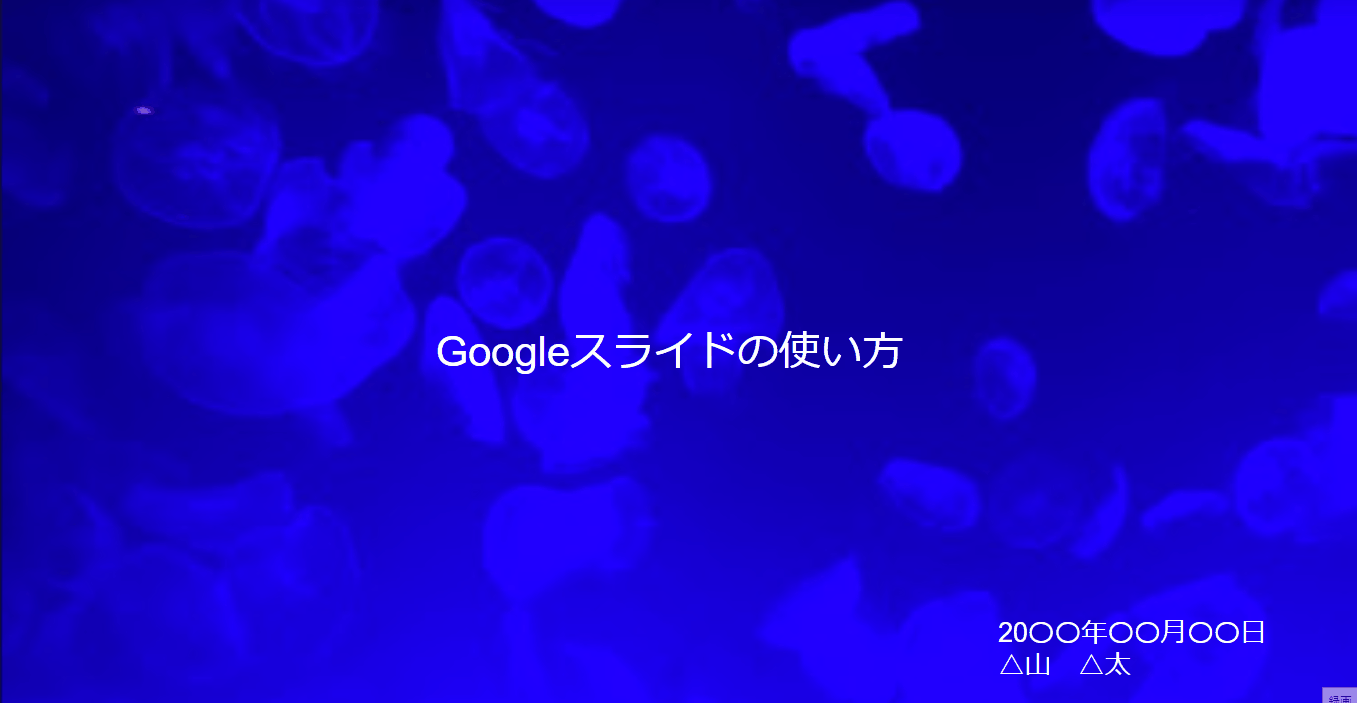
プレゼン資料にアニメーションを入れる事によって文字や図形等を強調する事が出来ます。
見出しをスライドインさせたり、強調したい文字をフェードインさせたりと色々な表現があります。
この記事ではアニメーションの挿入方法を紹介します。
アニメーション化の準備
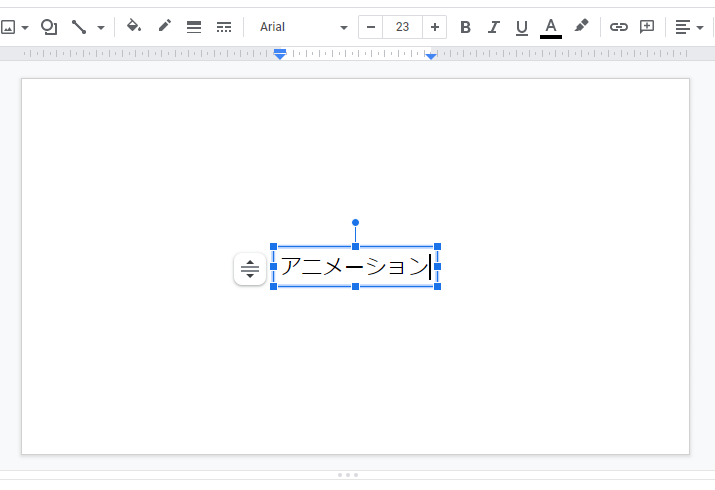
アニメーション化したいテキスト/図形を選択します。
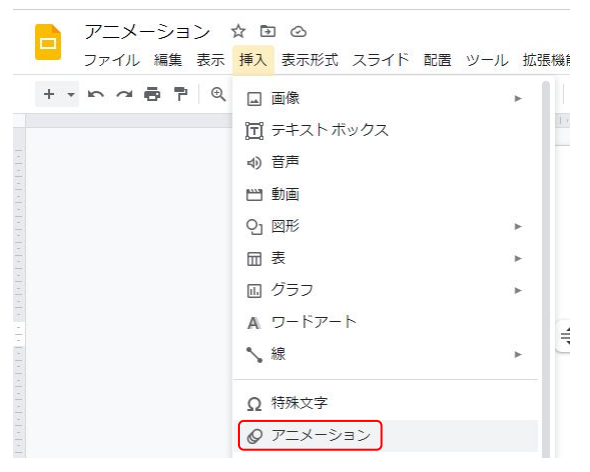
メニューバーの「挿入」からアニメーションを選択します。
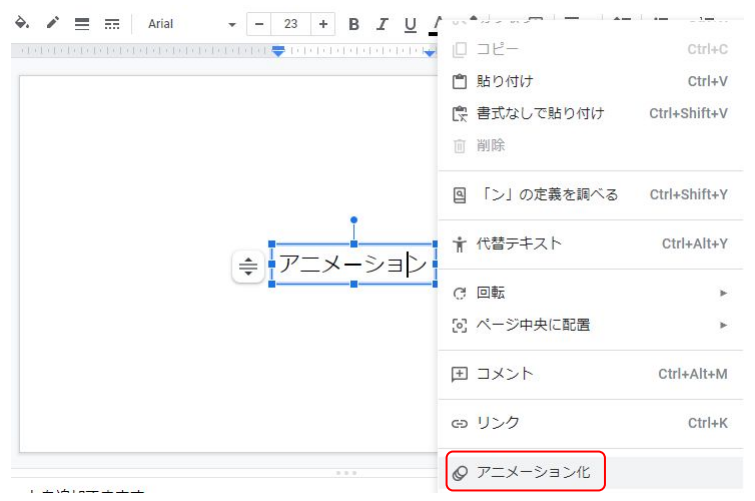
またはアニメーション化したいテキスト/図形を左クリックする事でメニューが開きますのでアニメーション化を選択します。
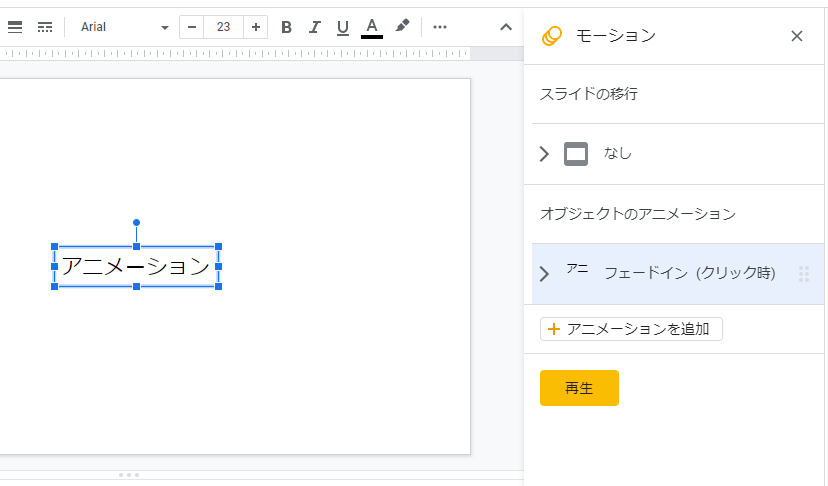
スライドの右側にアニメーションの編集メニューが表示されます。
スライドの移行
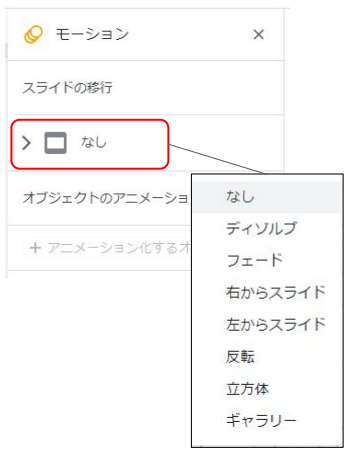
スライドが次のページに移行する際のモーションを設定出来ます。
使える効果は以下の7種類です。
ディゾルブ

フェード
右からスライド
左からスライド

反転
立方体

ギャラリー

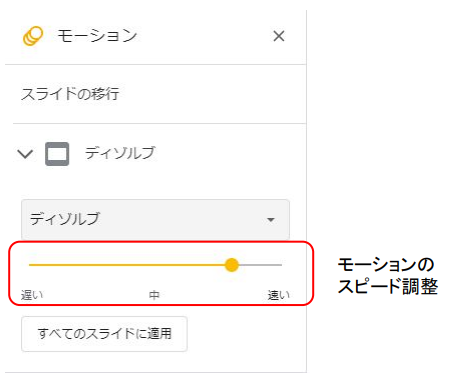
それぞれ効果のスピードの調整・すべてのスライドに効果を反映させる事も出来ます。
オブジェクトのアニメーション
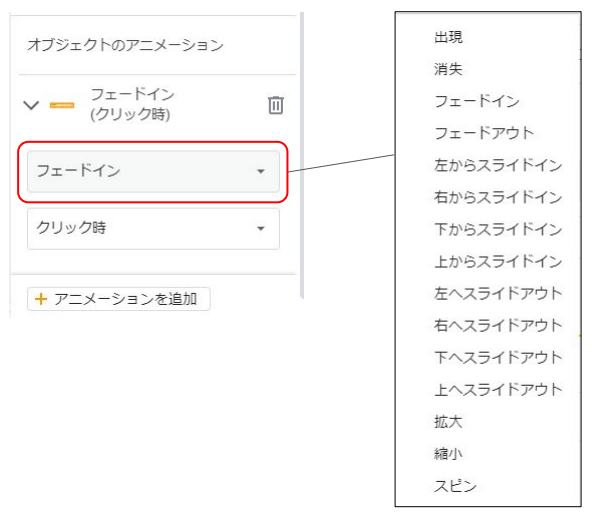
テキストや図形に対して効果を与えます。
使える効果は以下の15種類です。
出現

消失

フェードイン
フェードアウト

左からスライドイン

右からスライドイン

下からスライドイン

上からスライドイン

左へスライドアウト
右へスライドアウト

下へスライドアウト
上へスライドアウト

拡大

縮小
スピン

アニメーションを追加する
同一のオブジェクトにアニメーションを追加させる
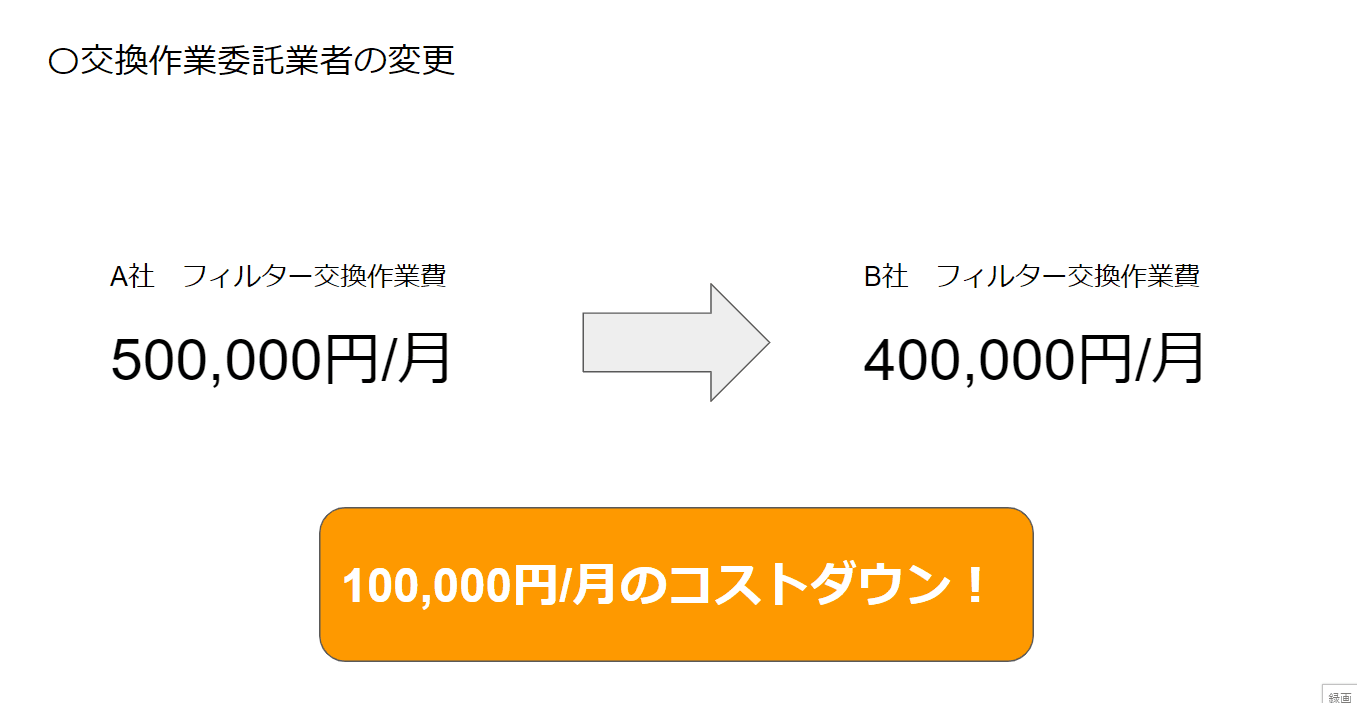
「100,000円/月のコストダウン!」というオブジェクトを上からスライドインしスピンさせてみます。
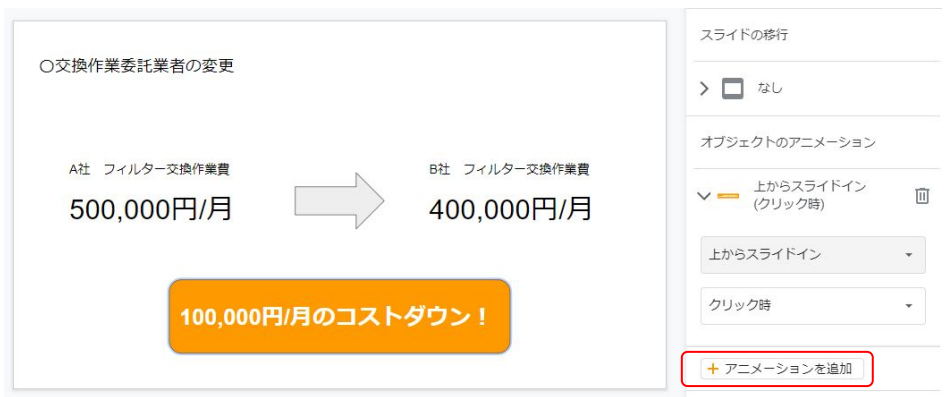
1つ目の動作として「上からスライドイン」を選択しアニメーションの追加をクリックします。
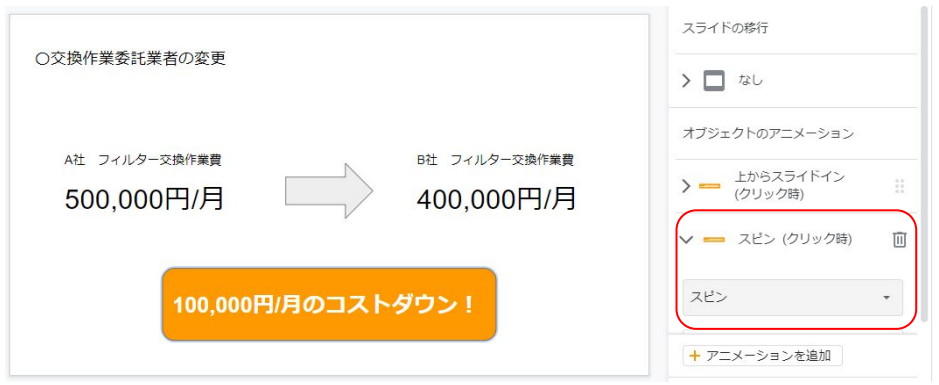
2つ目の動作を挿入するメニューが出てきますので「スピン」を選択します。

「上からスライドイン」→「スピン」のアニメーションが完成しました。
異なるオブジェクトにアニメーションを追加させる
スライドにある各オブジェクトに対しそれぞれアニメーションを挿入する事が出来ます。
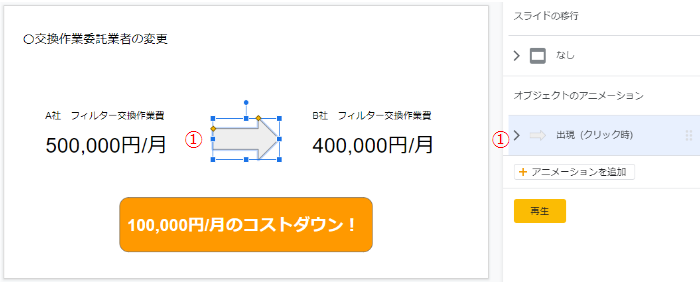
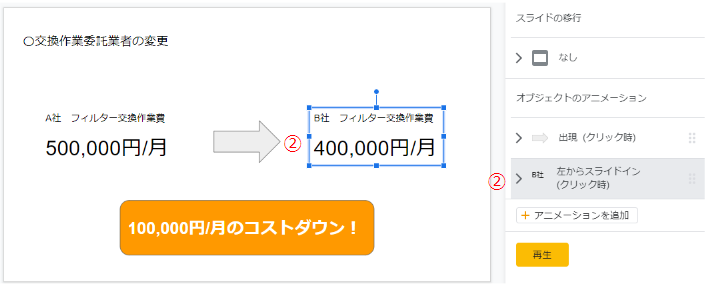
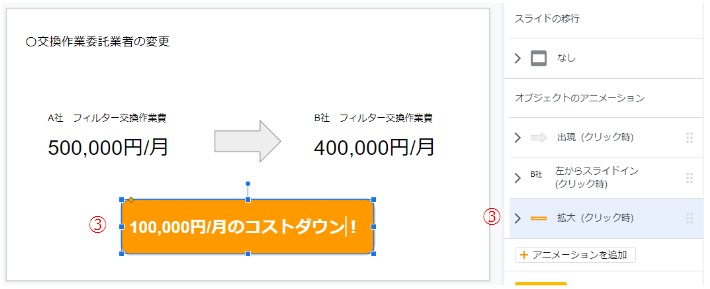
動作させたいオブジェクトの順にアニメーションの種類を選択しアニメーションを追加します。

「出現」→「左からスライドイン」→「拡大」をそれぞれ別のオブジェクトにアニメーションを挿入しました。
アニメーションのタイミング
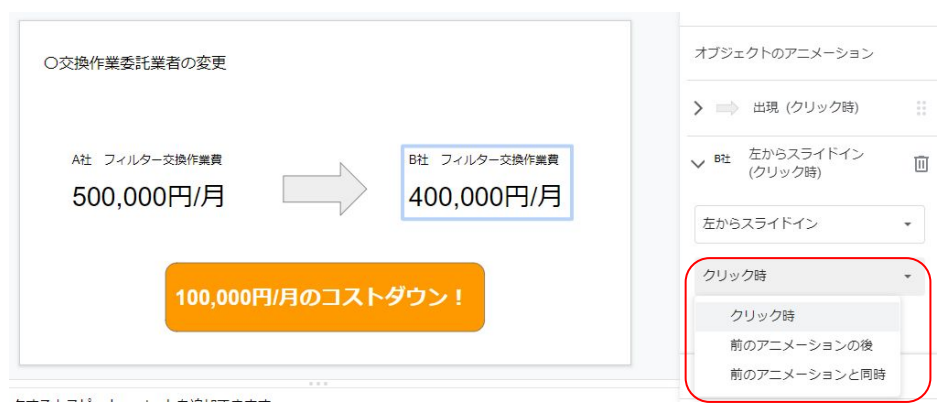
アニメーションは
・クリック時に動く
・前のアニメーションが終了後に動く
・前のアニメーションと同時に動く
以上の3種類から選択できます。
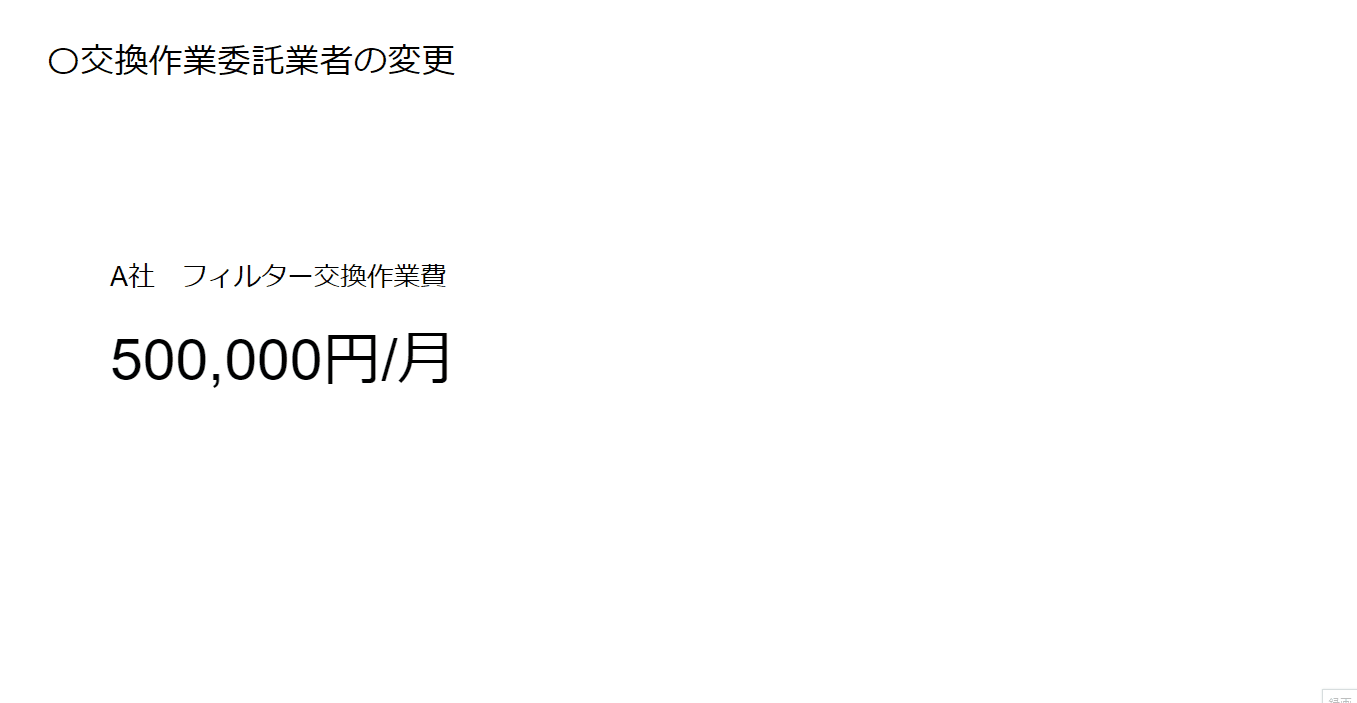
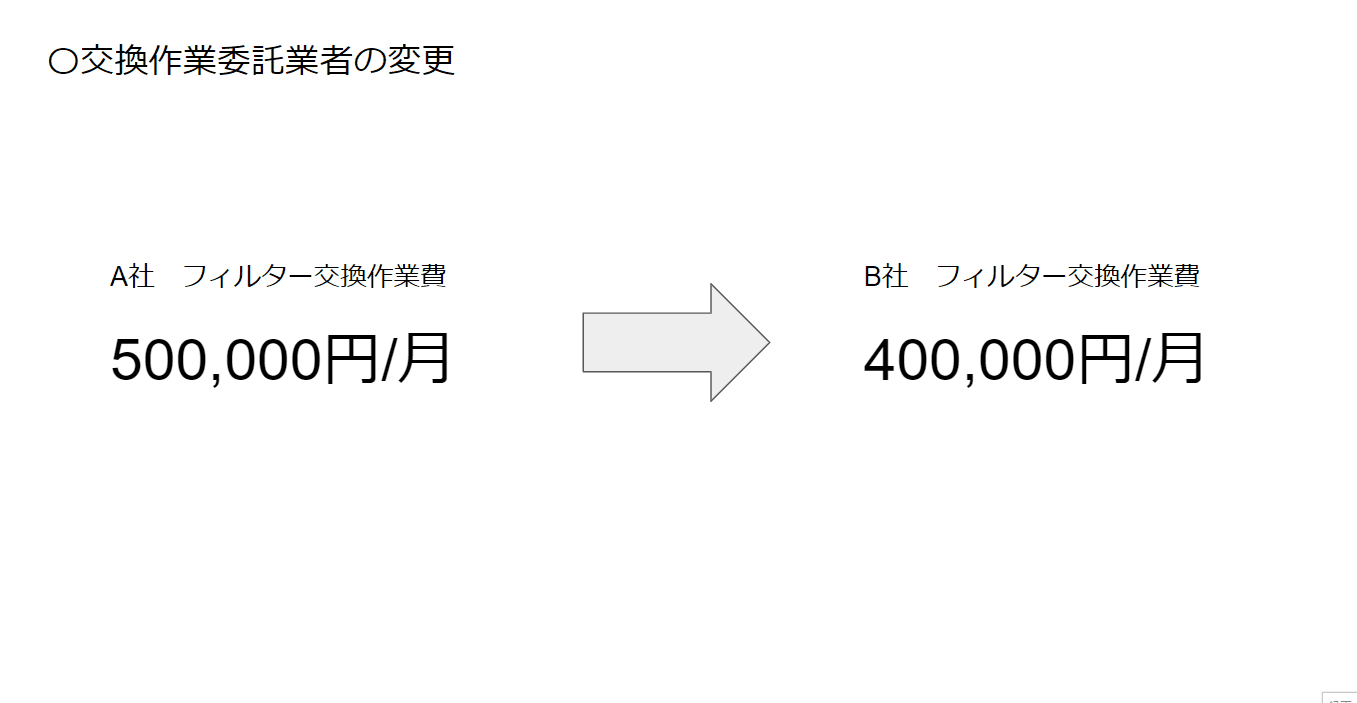
矢印の図形はクリック時に動作。
「B社 フィルター交換作業~」は矢印の図形の動作終了後に左からスライドイン(“前のアニメーションの後”を選択)。
「100,000/月のコストダウン!」は「B社 フィルター交換作業~」の動作終了後に拡大(“前のアニメーションの後”を選択)。

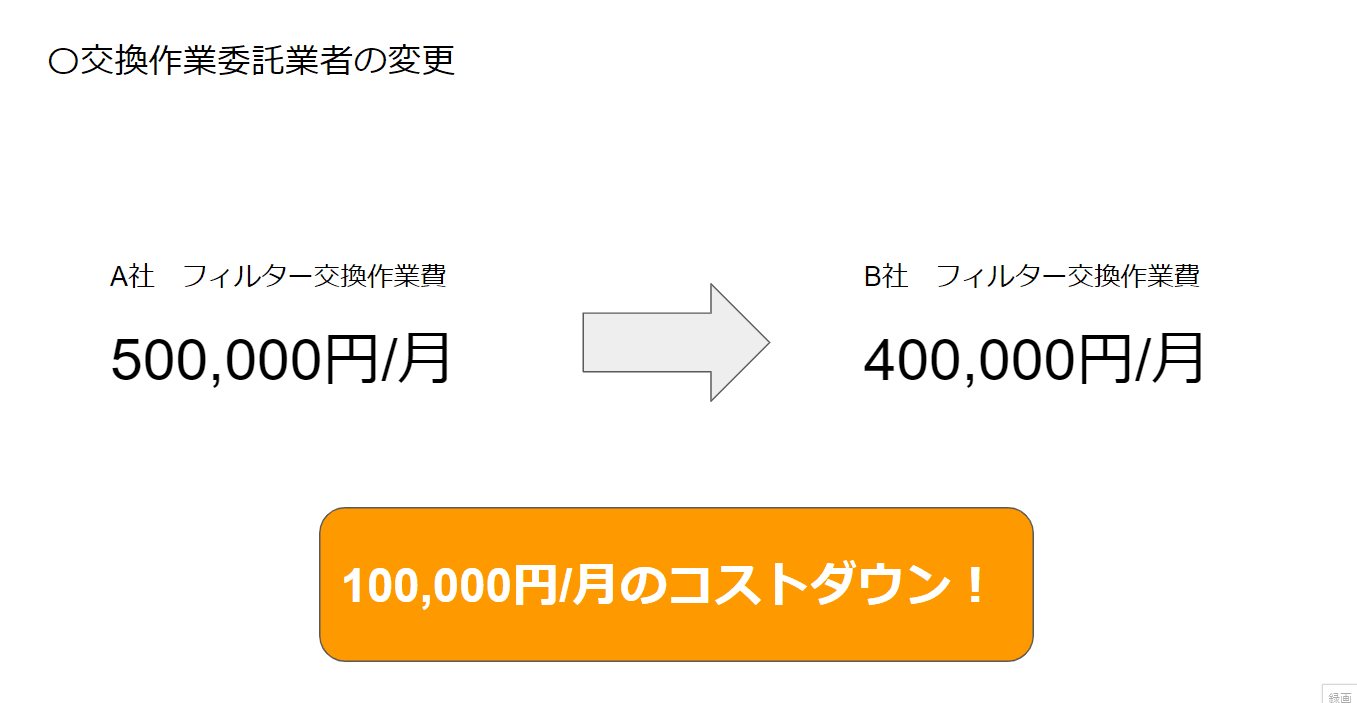
矢印の図形はクリック時に動作。
「B社 フィルター交換作業~」「100,000/月のコストダウン!」は矢印の図形の動作終了後に同時に動作(共に”前のアニメーションと同時”を選択)
それぞれ効果的なアニメーションのタイミングを見つけてみて下さい。
まとめ
以上、アニメーションの挿入について紹介しました。
上手く使えば効果的ですが、アニメーションを入れる事に凝り過ぎてアニメーションだらけにしてしまうとと内容が頭に入らなくなってしまい逆効果なので気を付けましょう。
今回紹介した記事が皆様の資料作成のお役に立てれば幸いです。

コメント